Superfly's "my car got stripped!" rebuild
#21
Took the VC off, sure enough the seals are wrecked....not sure why they're wrecked now as apposed to before the car was stolen. Maybe they were Just about to give up before it was stolen...
Definitely going to be keeping an eagle eye on them and everything else. I'll take pictures of them tomorrow when I replace them.
Definitely going to be keeping an eagle eye on them and everything else. I'll take pictures of them tomorrow when I replace them.
#22
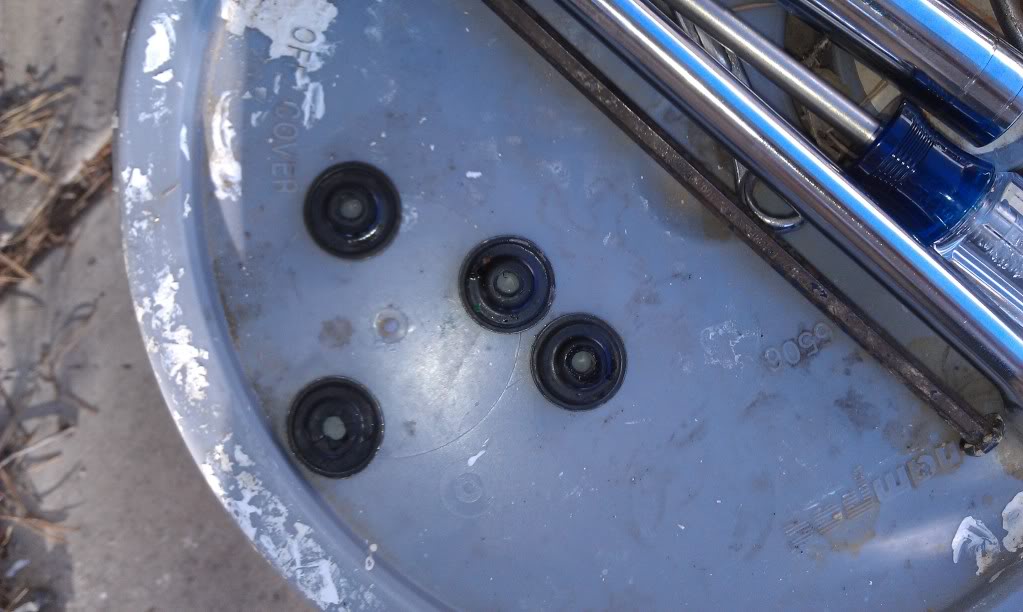
So here's pics of the seals and spark plugs. Not good...
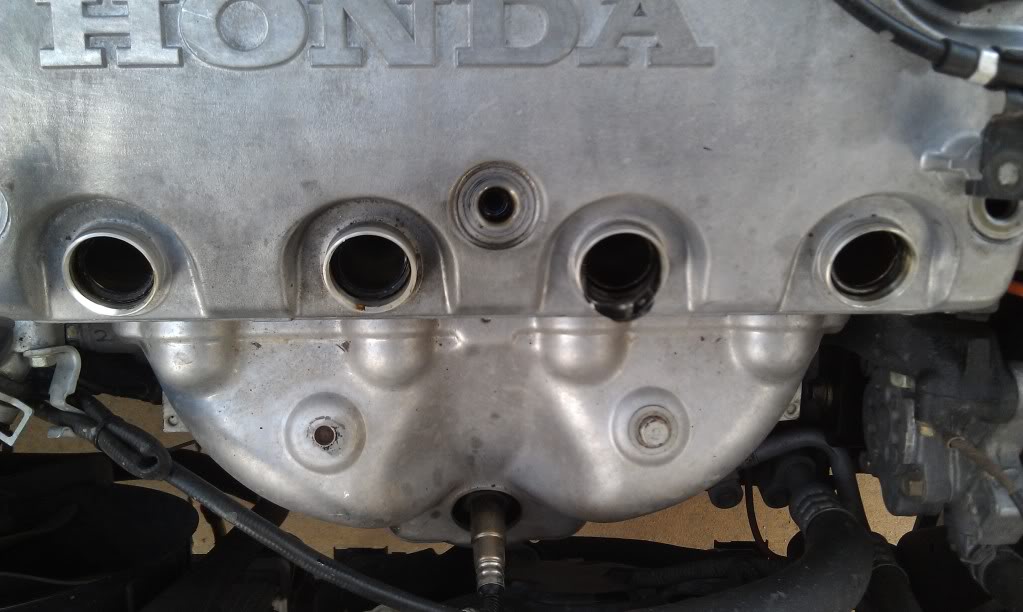
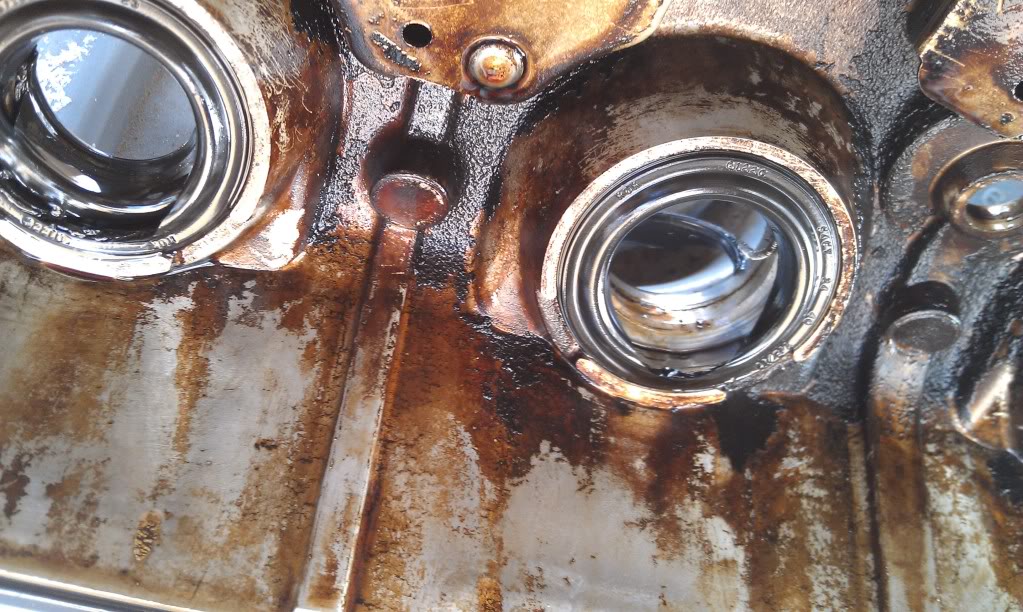
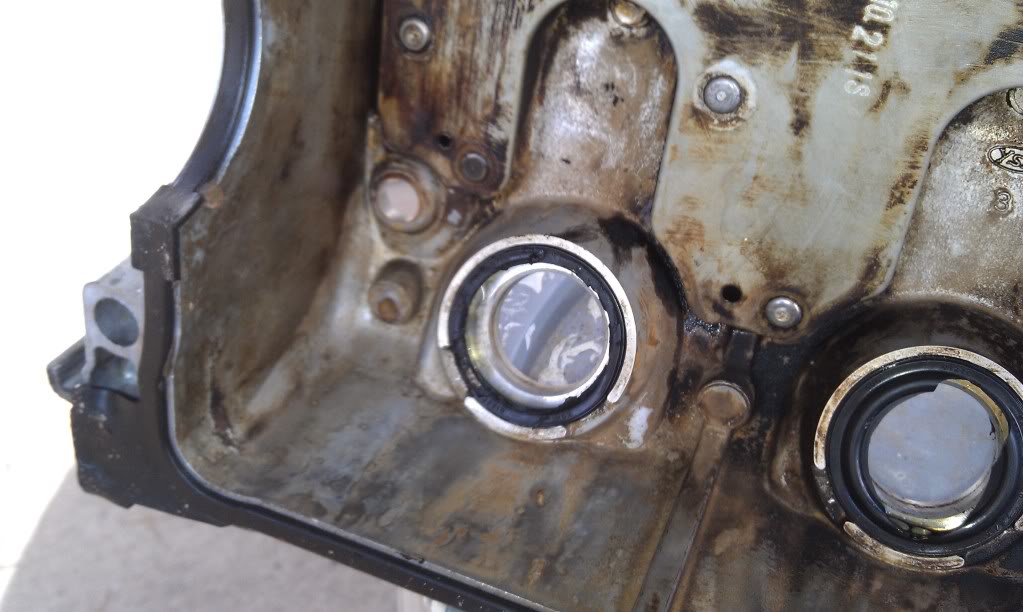
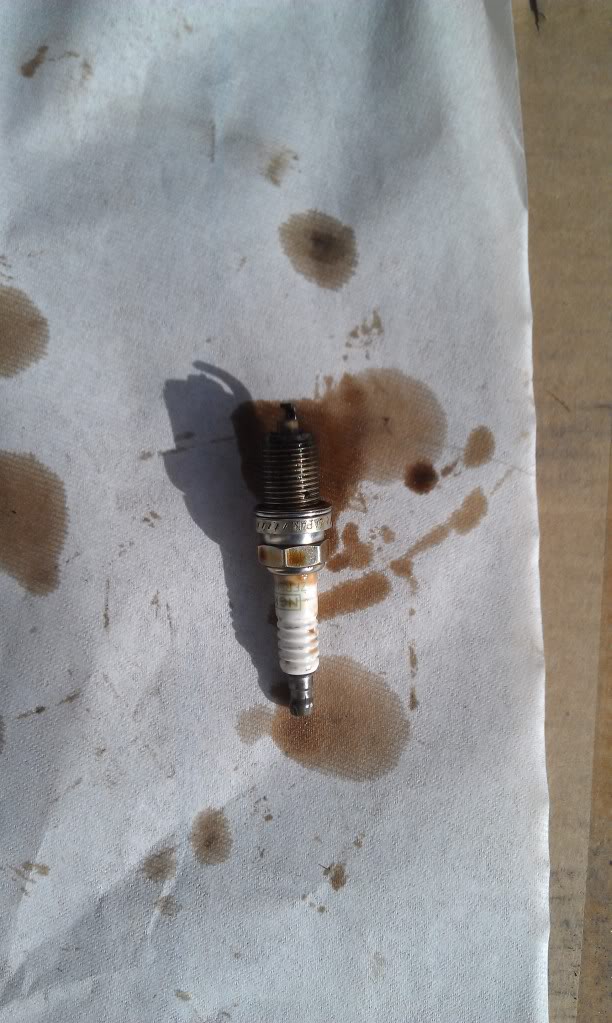
That puddle is oil drippping off the spark plug. Woo, go seals!
Now I have a new problem. The seals absolutely refuse to come off. Look at the third picture, I tried to pul it off, pry it out, but the rest of it wont budge. How the heck do I get all the rubber off? I'm thinking maybe I should soak overnight in acetone or something. Any other suggestions?
#24
Thin flat head, and small hammer like Hobo mentions. Once the screwdriver is in between the rubber and VC, twist the screwdriver, which bends the metal lining in the seal. You should be able to pull the seal out from there. Once you get one done, you'll have them all out in a matter of minutes. I suggest tapping new ones in with a rubber mallet.
#25
Well, took a hammer and a screw driver to them, finally got them out lol. Tomorrow installation happens.
Here's hoping that was the only thing wrong! That way I can finally move on to restoring my car audio
Here's hoping that was the only thing wrong! That way I can finally move on to restoring my car audio

#26
Woo it drives!! But man did I have to work for it! The compression washers for the valve cover bolts were a PITA
I tried cutting, prying, grabbing, pulling, stabbing..... Finally I soaked them in acetone and lit them on fire. They still put up a fight, but they came off.
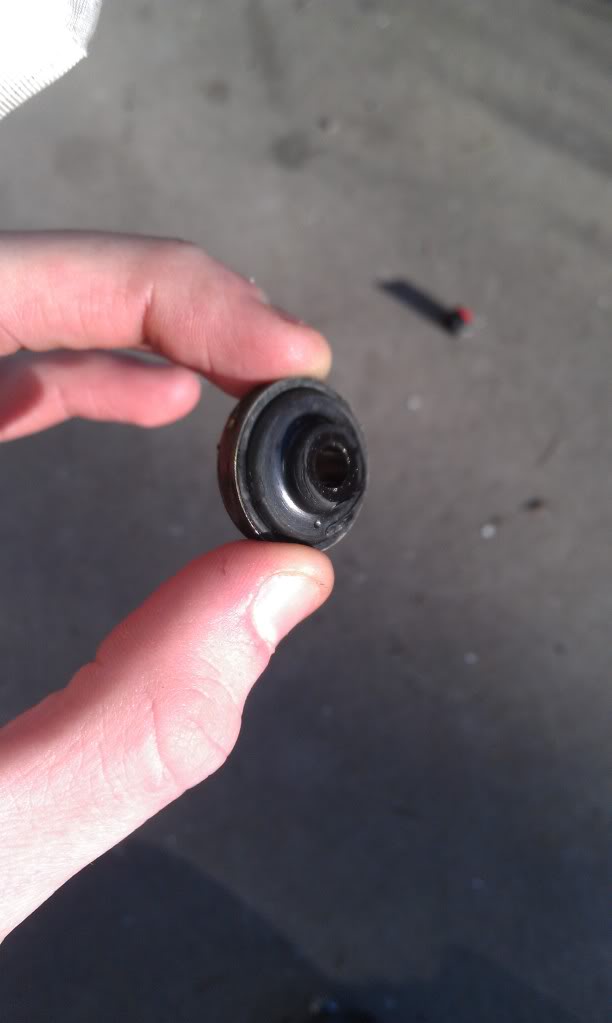
These here are what I'm talking about. They are the DEVIL.
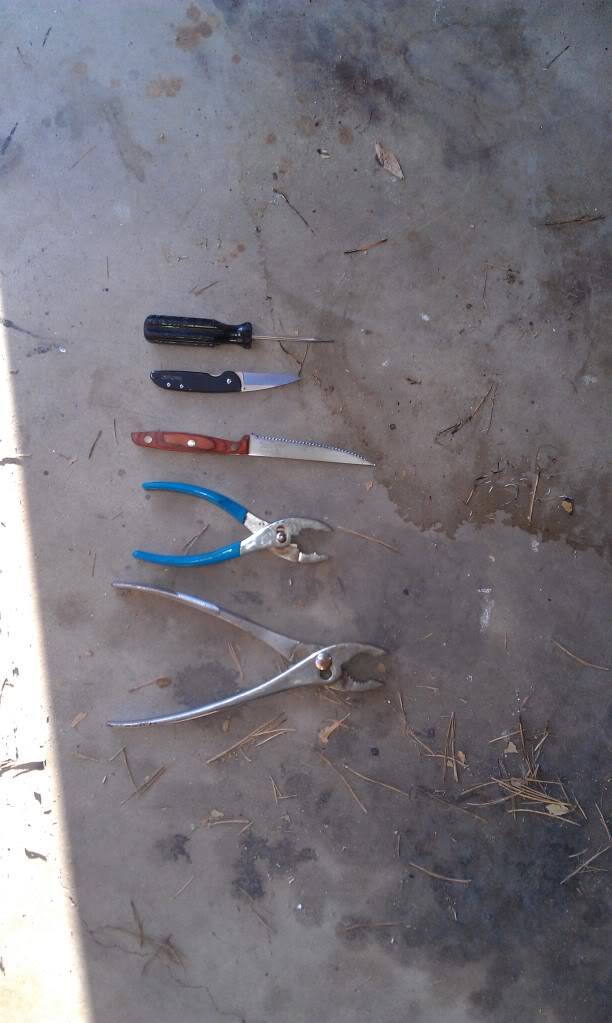
Here are all the tools I used to try to get those off lol.
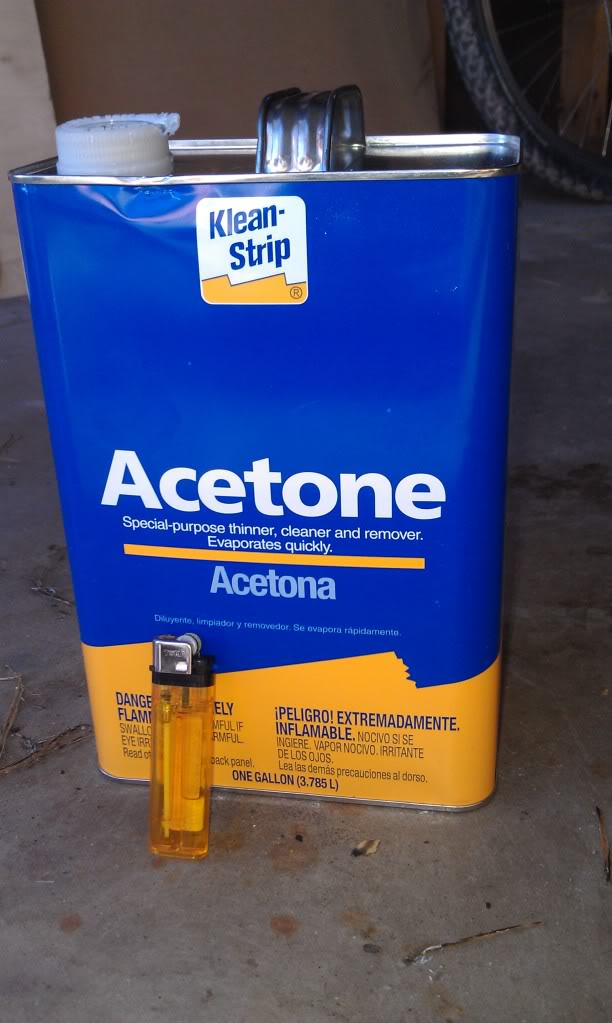
I tried cutting, prying, grabbing, pulling, stabbing..... Finally I soaked them in acetone and lit them on fire. They still put up a fight, but they came off.
These here are what I'm talking about. They are the DEVIL.


Here are all the tools I used to try to get those off lol.


#29
Would've been an even cheaper fix if I hadn't have ripped one of the stupid spark plug seals while trying to put it in...had to go buy another entire valve gasket set...stupid me 
A dremel came to mind, but it was not something I had access to. Yeah putting the replacements was hard, but at least it was doable lol.
I believe I'm getting the door wiring done today, finally on to modification and not repair

I believe I'm getting the door wiring done today, finally on to modification and not repair

#30
Woo started car audio work!!
First thing I did was try to run new, thicker (better) speaker wire through the doors. And that's where I ran into my first problem lol. I was going to run the wire through the stock boot, but the boot goes to a plug.
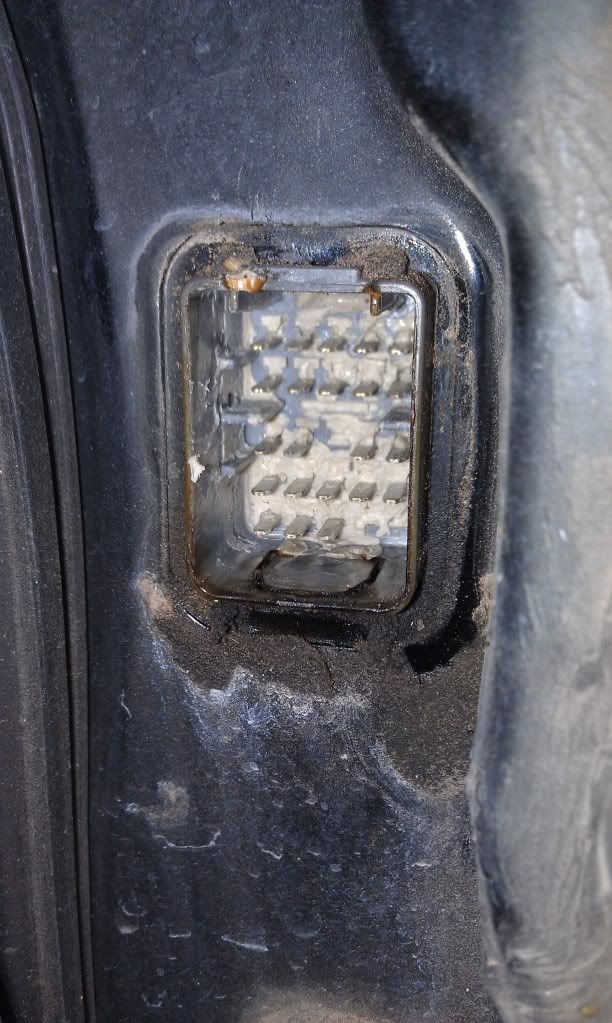
Soooo, I drilled a hole just above the plug in each door. Yay for drilling holes in my car!!
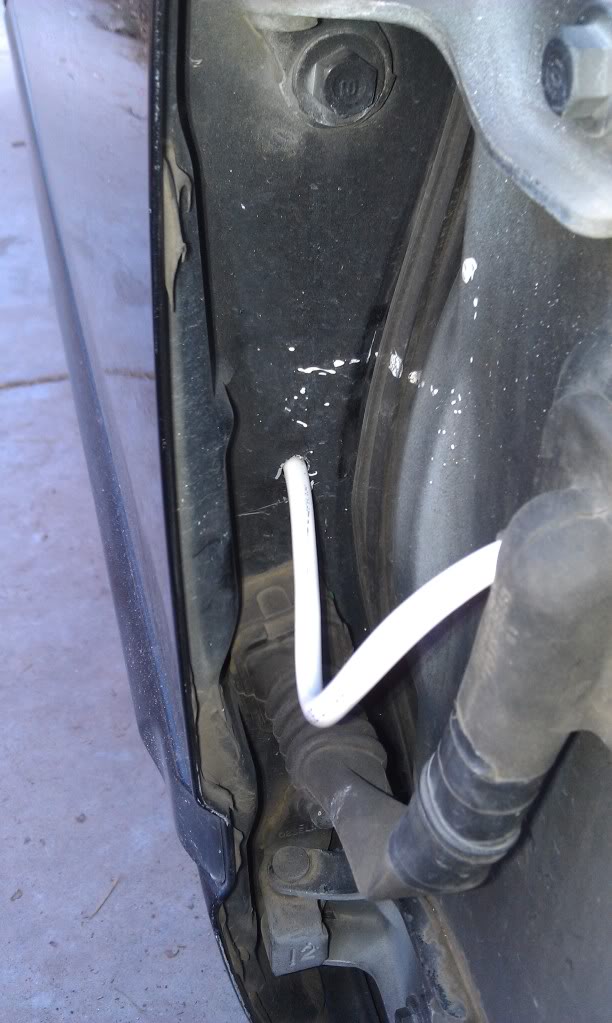
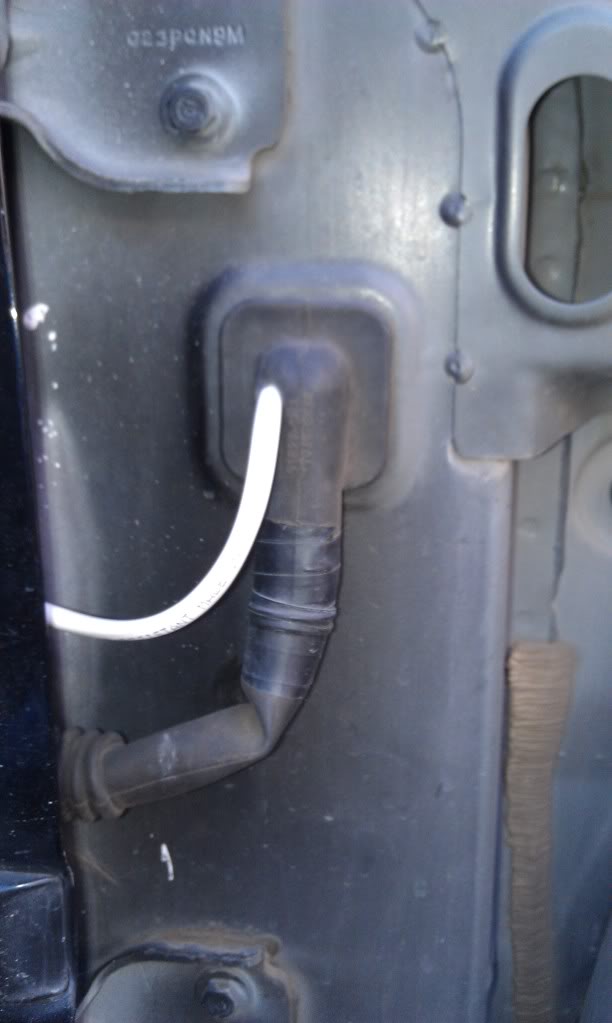
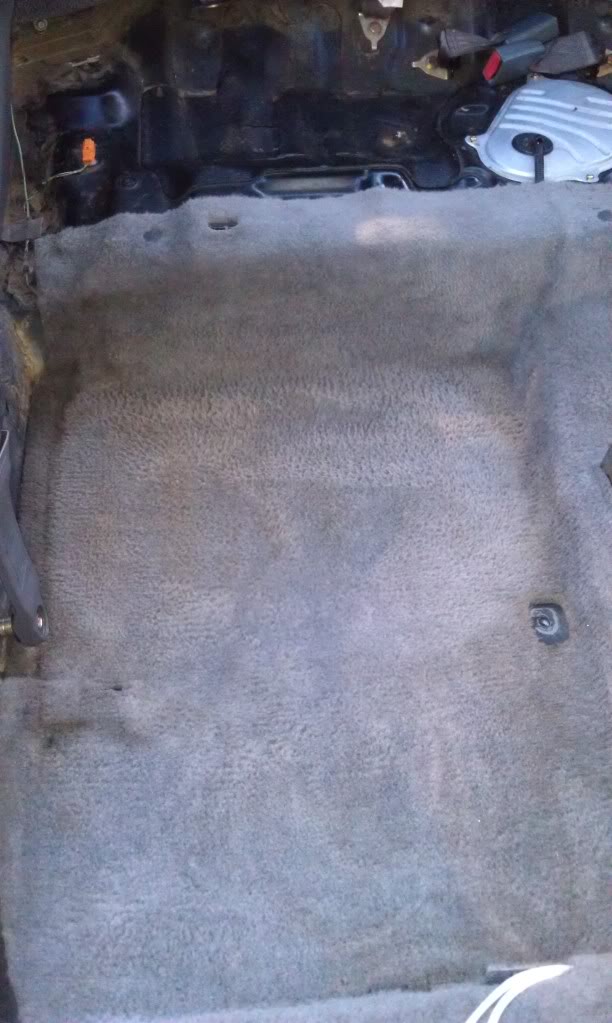
The amp is going under the passenger seat, here are the wire runs. It's amazing how easy it is to run wire when NOTHING is in the car
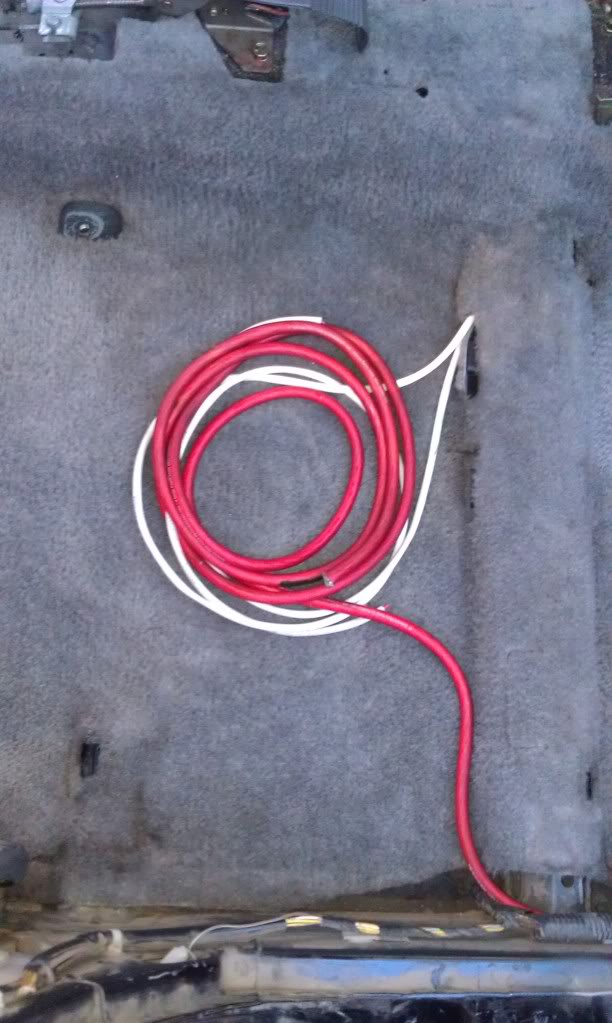
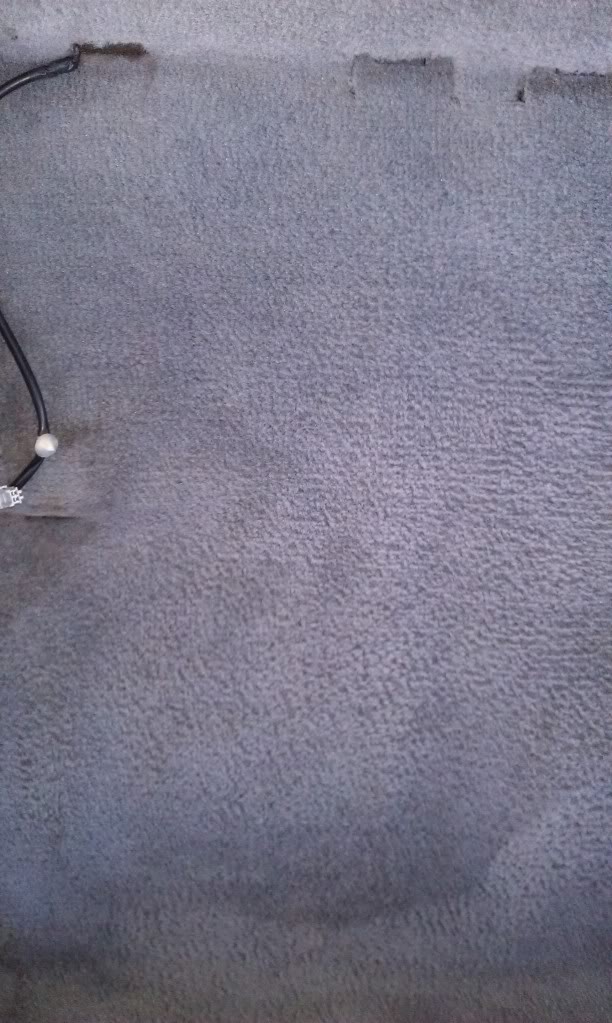
Also, cleaned my carpets again, this time with laundry detergent. Worked quite well! The stains are now almost gone in most places. Unfortunately, some place are just permanently brown i think, but at least they're a lighter brown
Stopping by Cobb's shop tomorrow, High Desert Mobile Electronics, (Shameles plug, woo) to pick up the amp, and other various items. Yay for even more progress!!
First thing I did was try to run new, thicker (better) speaker wire through the doors. And that's where I ran into my first problem lol. I was going to run the wire through the stock boot, but the boot goes to a plug.

Soooo, I drilled a hole just above the plug in each door. Yay for drilling holes in my car!!


The amp is going under the passenger seat, here are the wire runs. It's amazing how easy it is to run wire when NOTHING is in the car


Also, cleaned my carpets again, this time with laundry detergent. Worked quite well! The stains are now almost gone in most places. Unfortunately, some place are just permanently brown i think, but at least they're a lighter brown


Stopping by Cobb's shop tomorrow, High Desert Mobile Electronics, (Shameles plug, woo) to pick up the amp, and other various items. Yay for even more progress!!
Last edited by Superfly; 01-04-2012 at 10:36 PM.


