
Project Daily Beater
#21
 05-23-2011, 11:00 AM


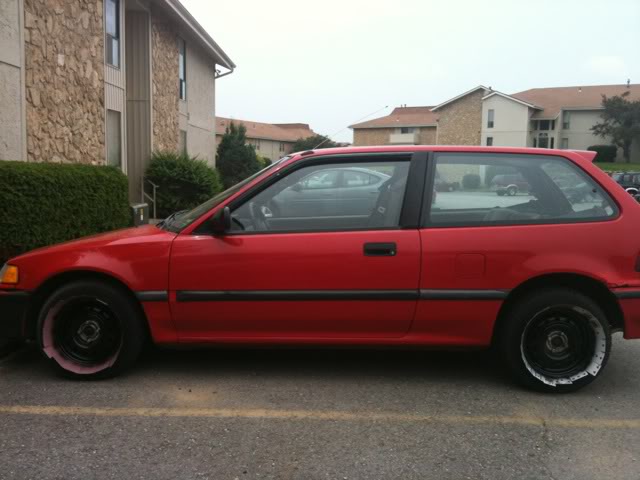
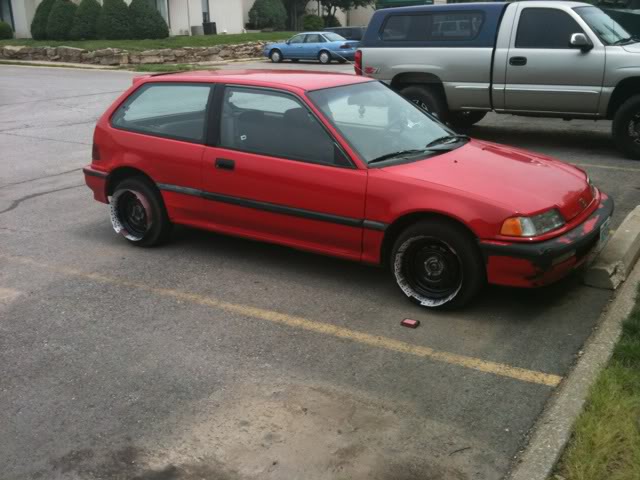
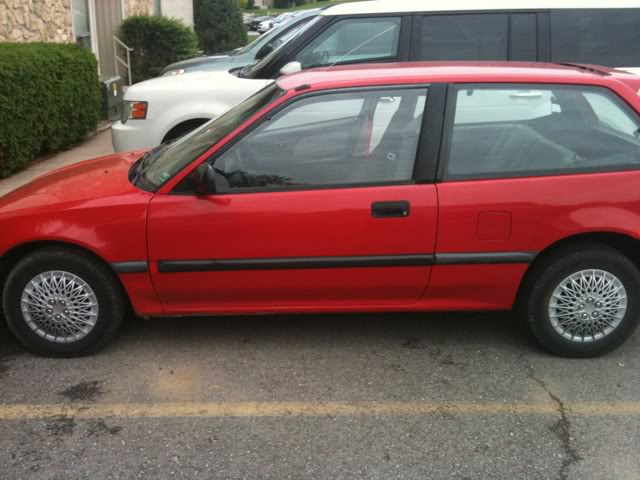
Im done. Of course I like wheels better, but I don't want to have much invested so this is a good, cheap alternative imo.
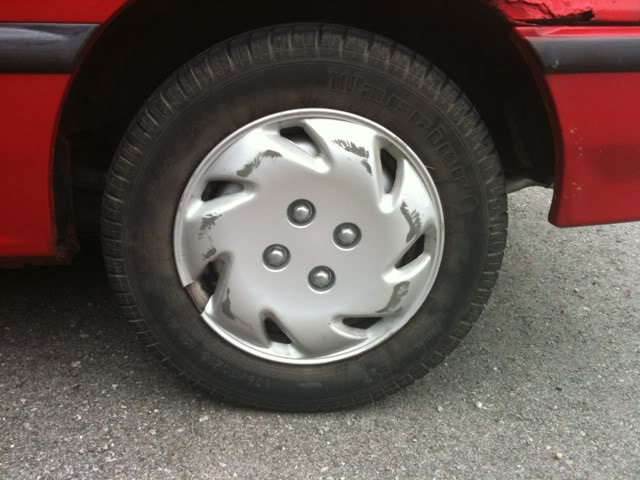
Hubcaps I started with (You can see that they're not in very good shape):
At this point, I scrubbed the steelies down with sandpaper and washed them at the car wash. After I got back home, I dried them and then I placed playing cards between the wheel and the tire all the way around each wheel.
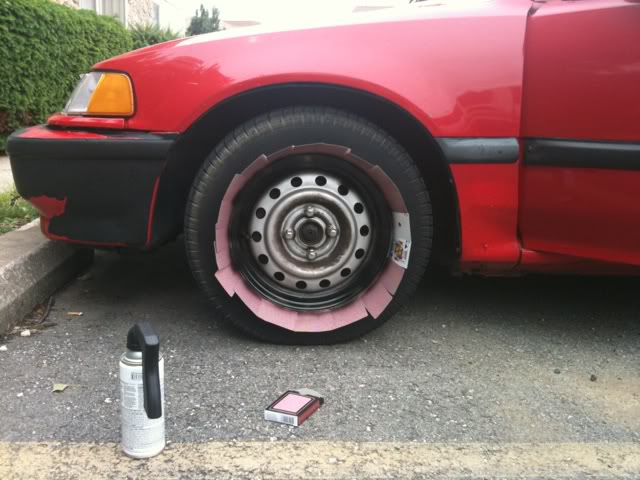
I started spraying on the outside and worked my way toward the middle:
Drivers side done:
Passenger side done:
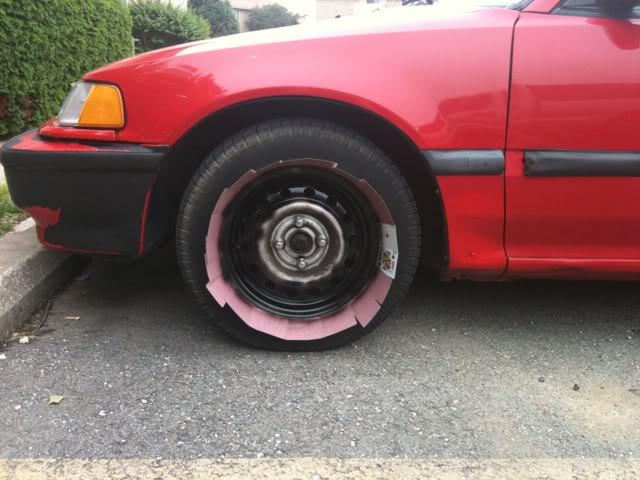
After drying and taking the cards out:
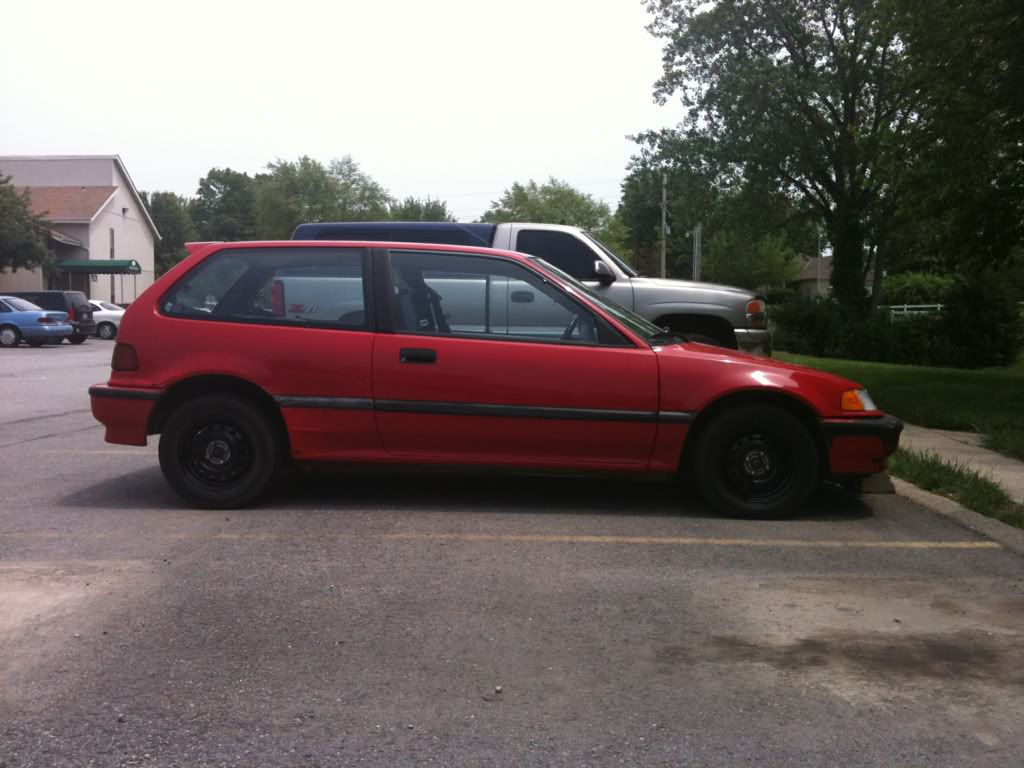
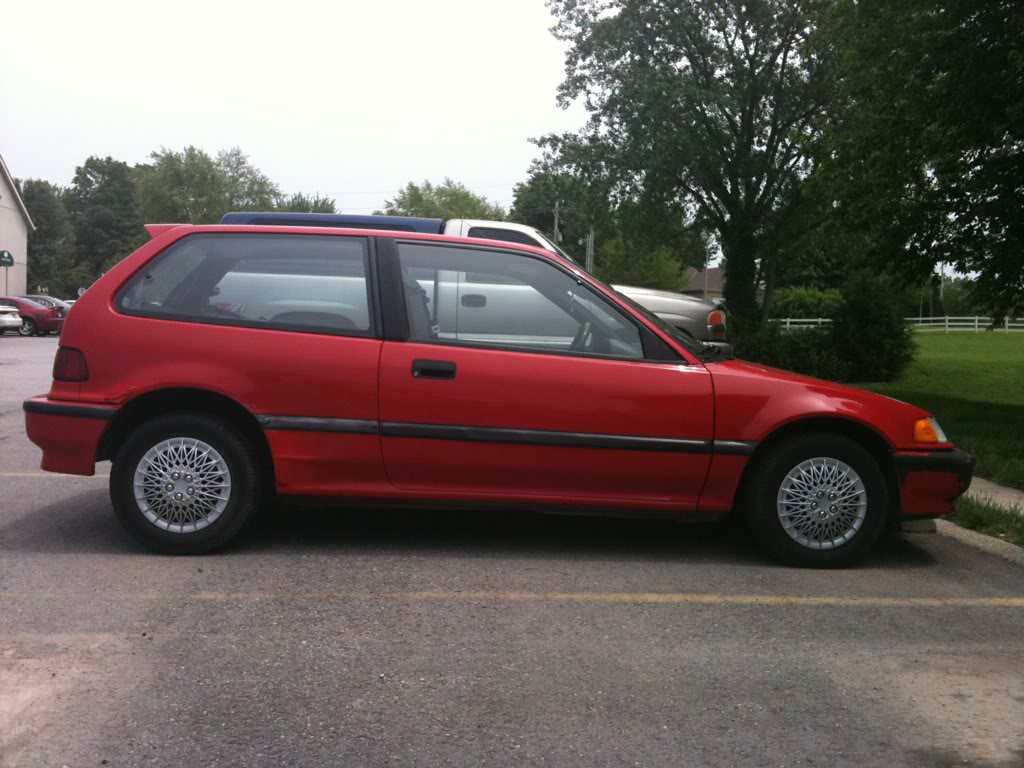
After adding the new hubcaps:
I know they dont look great, but they're alot better than the old ones and I have about $5 invested. As every project, they're not perfect, but I learned alot and I'll do it better next time. Some words of advice; scrub the steelies really good with the sandpaper. I wish I had scrubbed mine better. Second; dry the steelies by hand. I thought the drive home would dry them good enough, but it didnt. Now I can check hubcaps, and painting the steelies off of my to-do list.
Hubcaps I started with (You can see that they're not in very good shape):
At this point, I scrubbed the steelies down with sandpaper and washed them at the car wash. After I got back home, I dried them and then I placed playing cards between the wheel and the tire all the way around each wheel.
I started spraying on the outside and worked my way toward the middle:
Drivers side done:
Passenger side done:
After drying and taking the cards out:
After adding the new hubcaps:
I know they dont look great, but they're alot better than the old ones and I have about $5 invested. As every project, they're not perfect, but I learned alot and I'll do it better next time. Some words of advice; scrub the steelies really good with the sandpaper. I wish I had scrubbed mine better. Second; dry the steelies by hand. I thought the drive home would dry them good enough, but it didnt. Now I can check hubcaps, and painting the steelies off of my to-do list.
#23
05-24-2011, 09:18 AM

Yes, I think that brushed nickel looks better than polished gold for exterior building hardware. As far as the home's interior is concerned , I am biased towards nickel too, but I've seen polished gold done tastefully.

#25
05-24-2011, 09:23 AM

I would have used index cards, but playing cards are probably cheaper. 5 lug conversion, heh. I used to rock the 5 lug hub caps too.
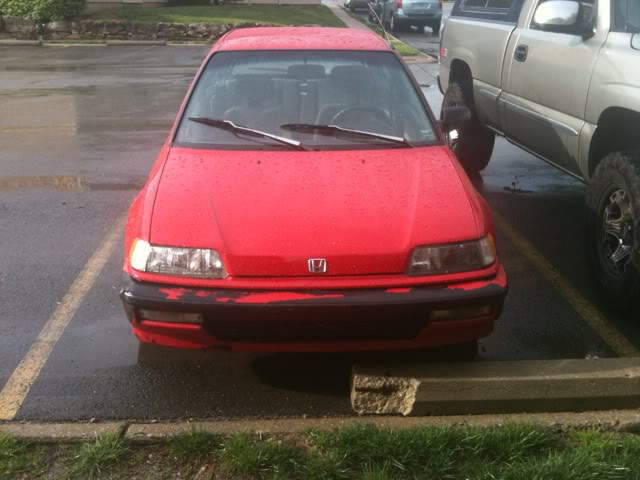
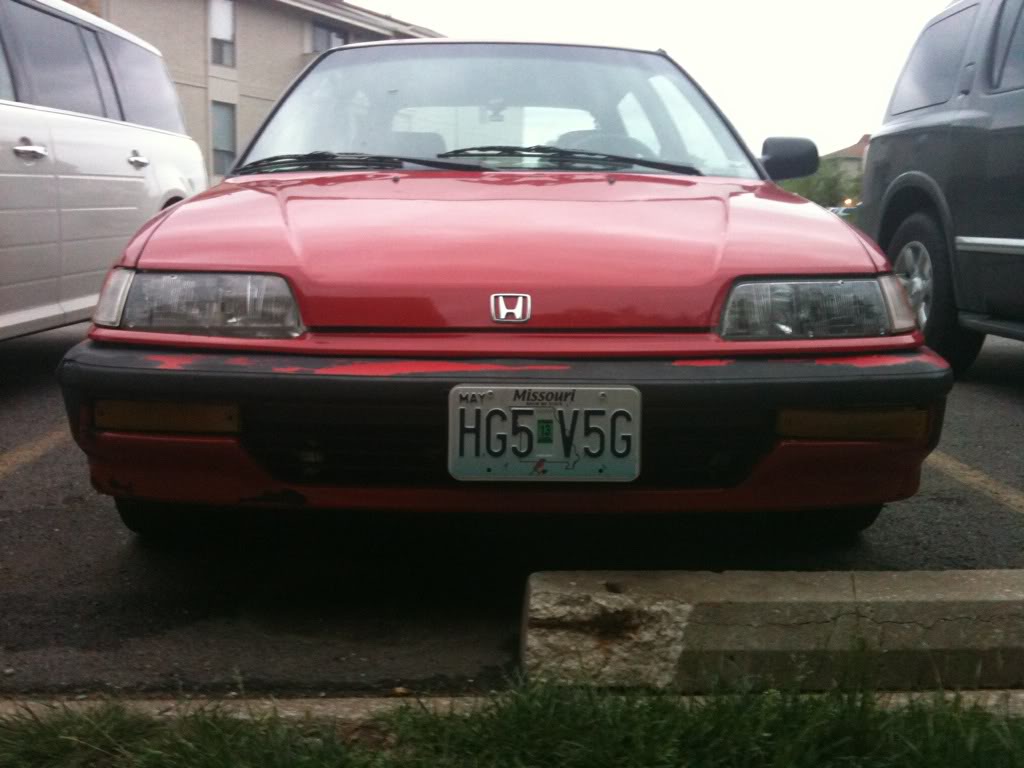
Now, for that front bumper... Hit up Pep Boys or Auto Zone. Some of them carry color matched paint in stock for that. I think that's called "Rio Red". Milano Red might be close...
Now, for that front bumper... Hit up Pep Boys or Auto Zone. Some of them carry color matched paint in stock for that. I think that's called "Rio Red". Milano Red might be close...
#26
05-24-2011, 01:31 PM
I have more cans of the same paint I used on the steelies. Think I'm gonna shoot the front bumper with it and heavily clearcoat it
#27
05-24-2011, 04:32 PM
I just used Mothers Back-to-Black on some of my trim. I'm sure I'll use more on more parts as time goes on, but I did a little tonight just to see how it works.
Pics:
-Before
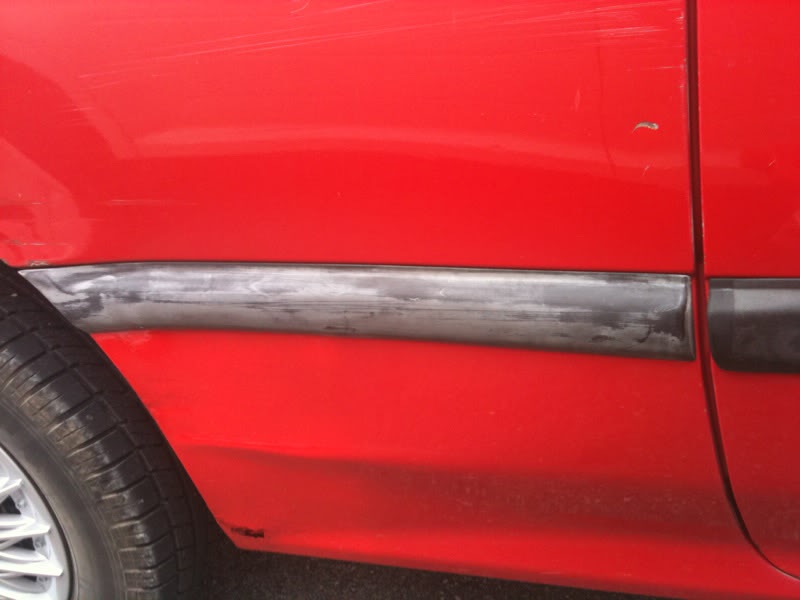
-Same spot after

-Drivers side before
-Drivers side after
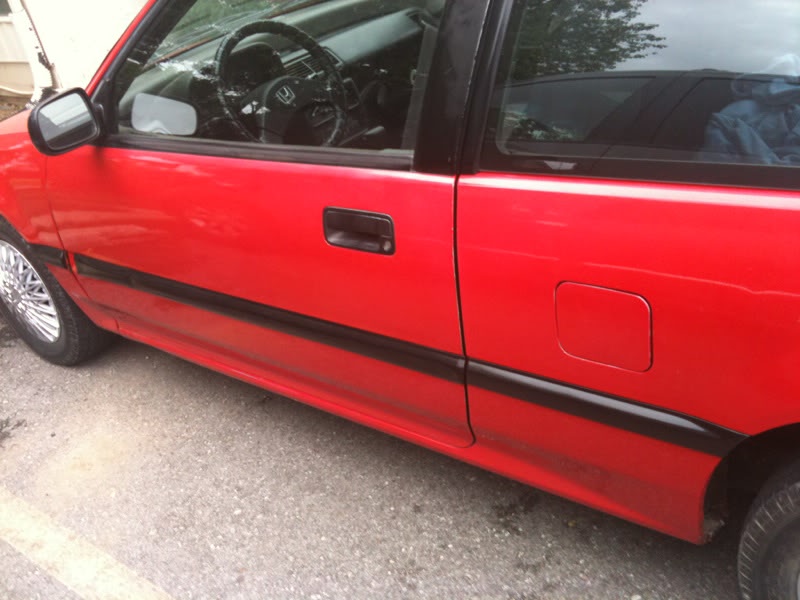
Works great if you ask me. I'll get better pics within the next couple of days.
Pics:
-Before
-Same spot after
-Drivers side before
-Drivers side after
Works great if you ask me. I'll get better pics within the next couple of days.
#28
05-24-2011, 04:37 PM
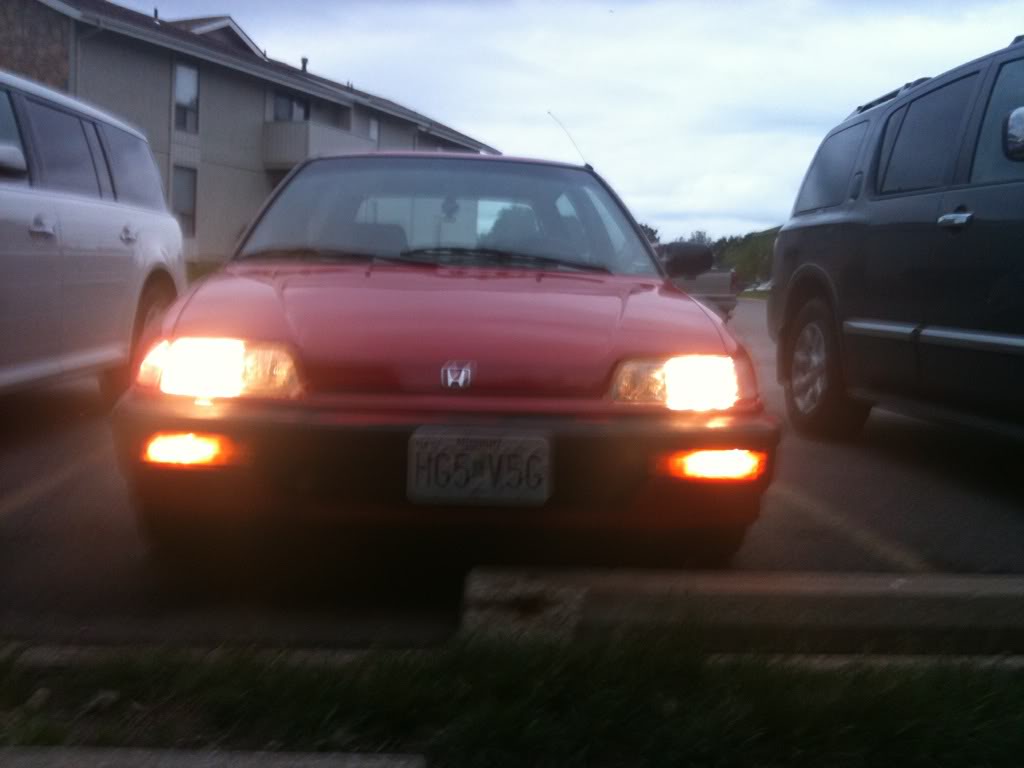
Im also using spraypaint that is meant to be used to make windows look like stained glass to make my foglights yellow.
Foglights before:
Currently:
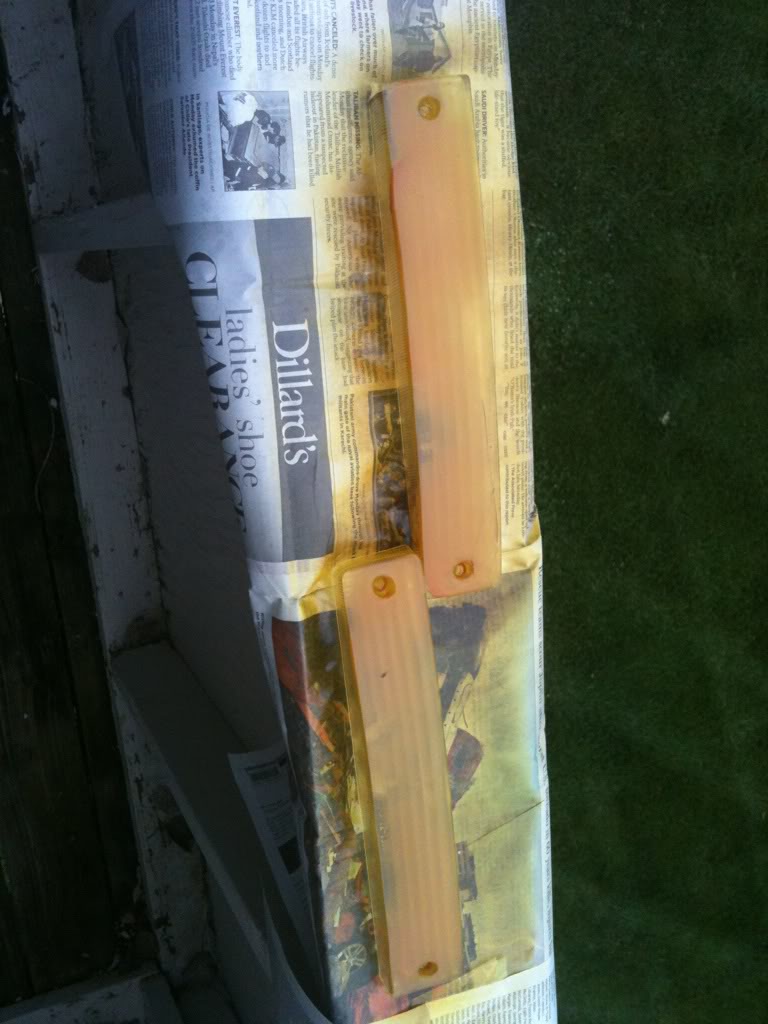
I sprayed them again, and I'd like to get them back on tonight. If I do, I'll post pics.
Foglights before:
Currently:
I sprayed them again, and I'd like to get them back on tonight. If I do, I'll post pics.
#29
05-24-2011, 04:46 PM
Be careful with that stained glass stuff. I've used similar stuff in the past. Looks like you're doing it right by painting the outside of the lens instead of the inside.
Also, it's missing the passenger mirror?
Also, it's missing the passenger mirror?
#30
05-24-2011, 05:29 PM
Just put the fogs back on. As always, they're not perfect, but I'll do it better next time. I should have let them dry more. Not very good of pics cause they were taken on my phone, and it was getting late.
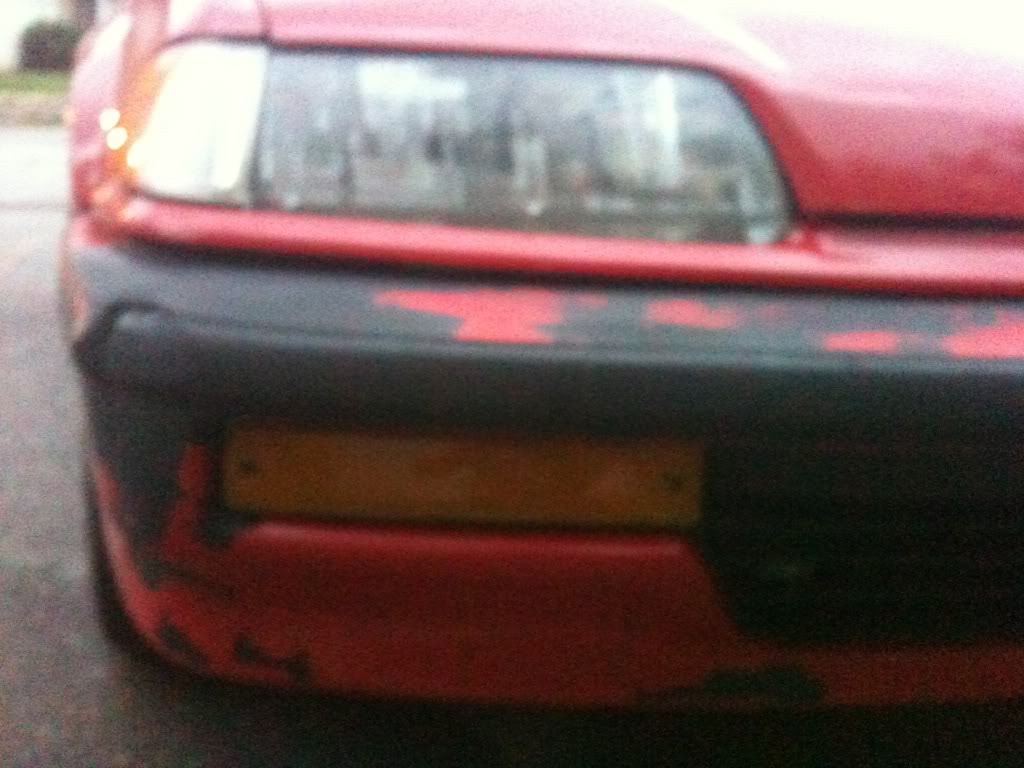
I found an extra screw and added it to the far right hole.
From my understanding, the passenger mirror was an option and my car must not have come with it.
I found an extra screw and added it to the far right hole.
From my understanding, the passenger mirror was an option and my car must not have come with it.